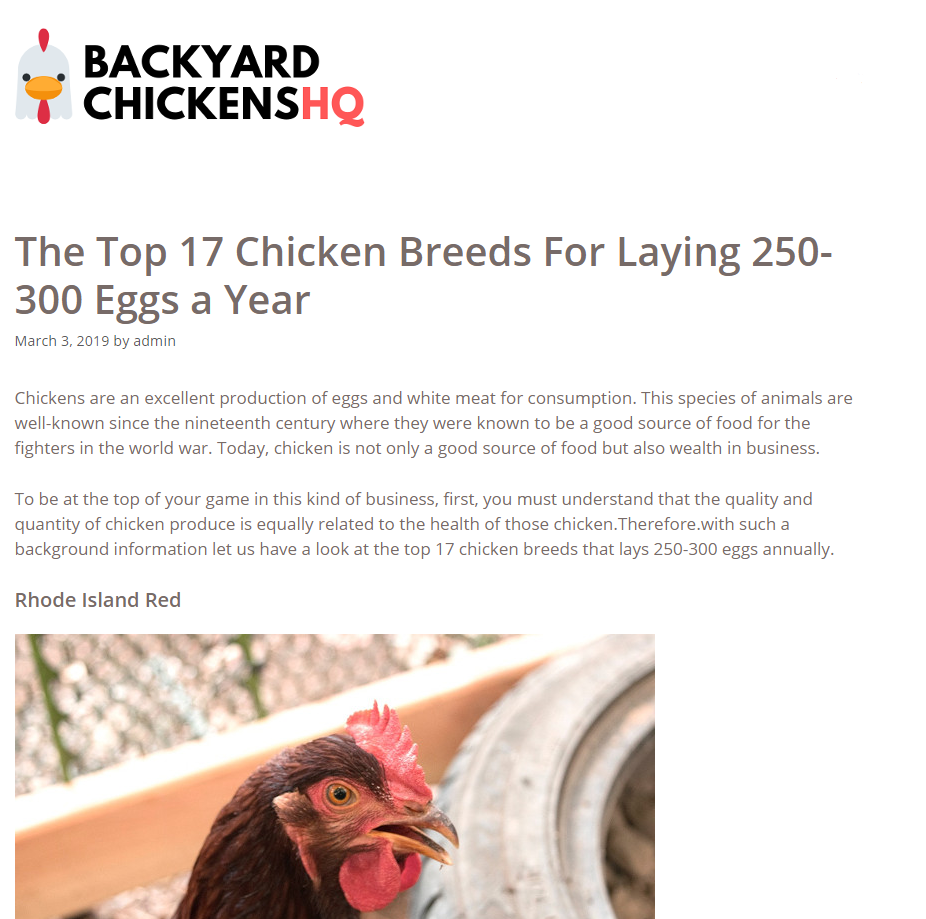
In the WordPress world, Posts are where you will put the meat of your blog. So far everything we have setup are the bones. The term “blog” came from shortening two word “web” and “log” together. So a blog at its heart is a collection of entries to a log or a journal/diary. WordPress at its heart is blogging software, and Posts are where you make your log entries. In my blog, I am going to make a collection of 500-1,500 word articles. Let’s go ahead and add the first one.
Choosing the Right Editor for You
Starting with WordPress version 5, the default editor for your Posts and Pages is the new Gutenberg Editor. This is important to note because it is a massive shift in how you add content to your blog, and it may make some documentation you find about WordPress prior to version 5 hard to follow. In this tutorial we created all of our Pages using the Gutenberg Editor.
As I have used the Gutenberg Editor, I have noticed that you can now do things that previously required you to install plugins or write code, all from the text editor. An example of this would be the way the Gutenberg Editor creates really nice image galleries. It makes organization of the content inside your Posts very nice because it based on creating blocks inside that Post. A block, or section, for heading, and then a block for an image, then a block for a paragraph:
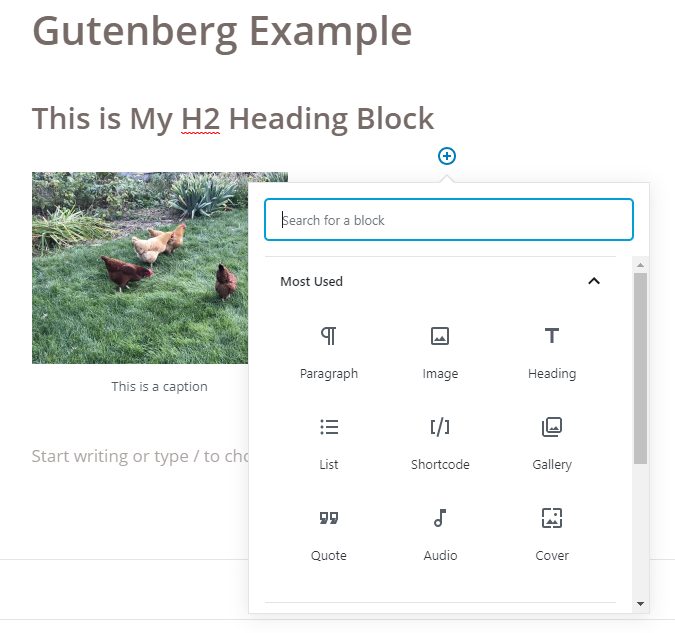
I think this is a great evolution in WordPress. However, it has a bit of a learning curve, and one MAJOR drawback. Copying and pasting text from something you have written outside of WordPress is a train wreck. You spend more time trying to fit everything into blocks than it is worth. The Gutenberg Editor works best when you are writing the content directly on WordPress. That isn’t the case for me, or my team that is going to be creating content for this blog. We are going to be sharing text files of our articles back and forth.
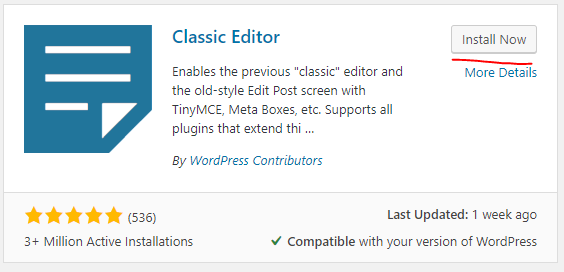
So I am going to install the Classic Editor plugin so I can easily copy/paste text from Notepad. I also recommend that you don’t get in the habit of copy/paste text from MS Word. It will inject extra formatting that WordPress won’t like. Copy/paste in this order MS Word –> Notepad –> WordPress. 😉
Create a New Post
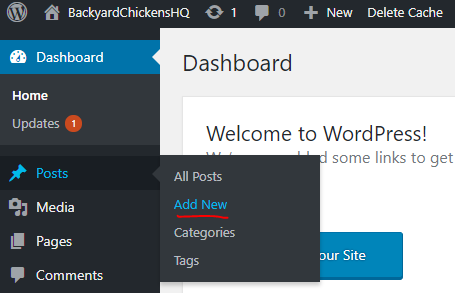
From the Dashboard, hover your mouse over Posts and click the New Post link.
The New Post form will appear. I am going to add the Title and Body of my first blog Post. It is a 2,000 word article called “The Top 17 Chicken Breeds For Laying 250-300 Eggs a Year.”
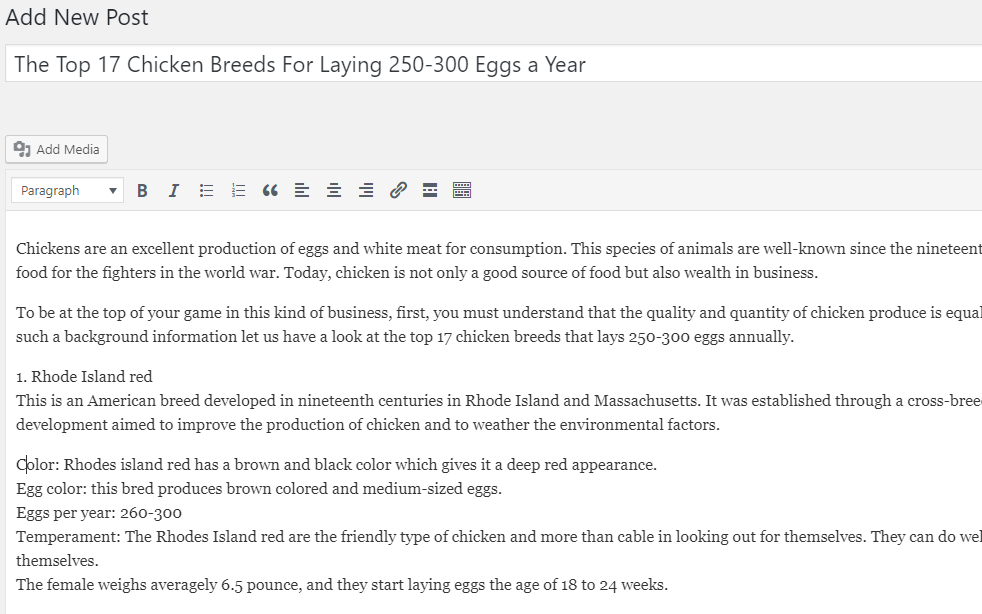
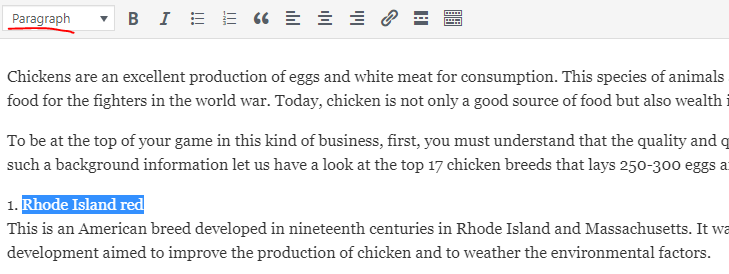
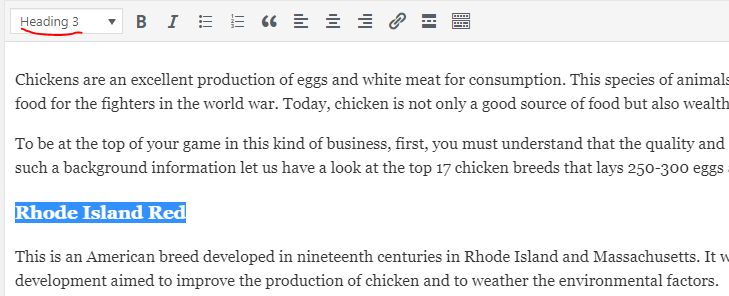
I am going to use the Controls at the top to format the plain text into Headings.
Before
After
I am going to use the Controls at the top to format some of the content to be Bold.
Before
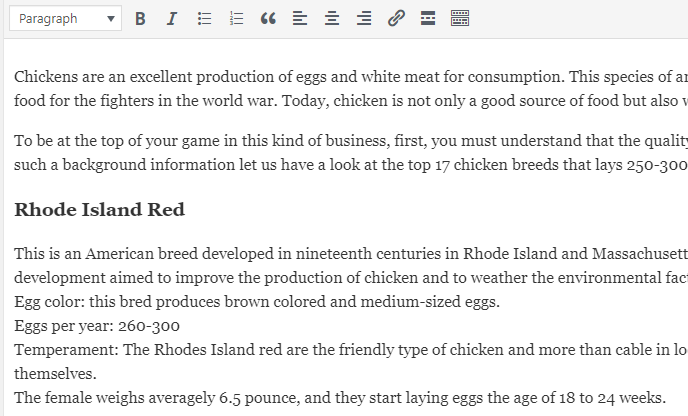
After

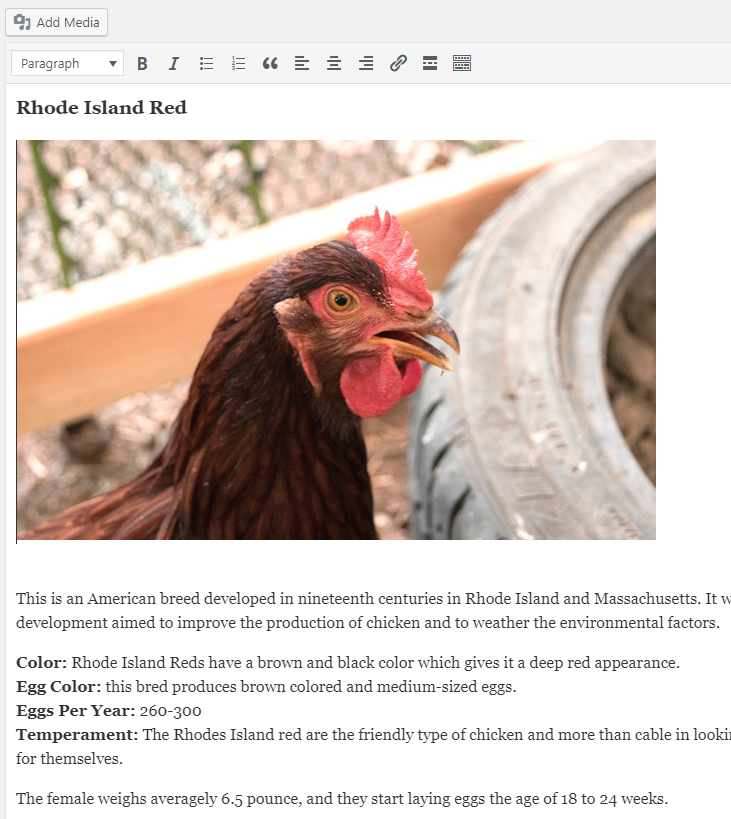
Adding Images to Content
Click the Add Media button.
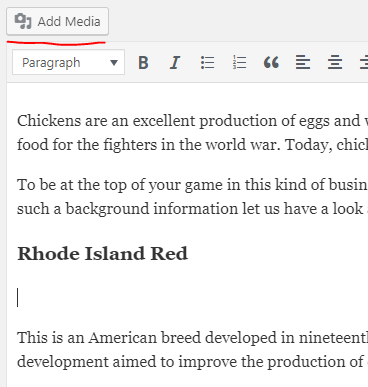
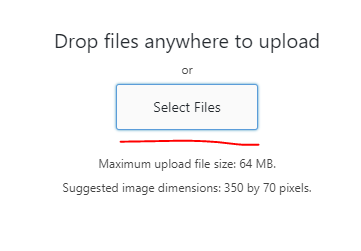
Select Upload Files from the options. Browse to the image on your computer, and it will get added to the Media Library.

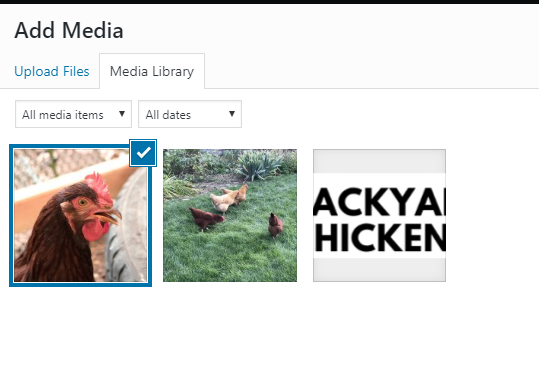
Once the image you selected is added to the Media Library, go to the right-hand side of the screen and click the Insert into Post button.
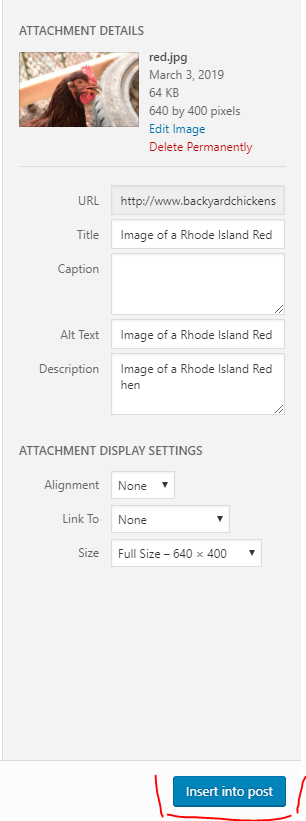
The image is then added to your Post.
Adding Your Post to a Category
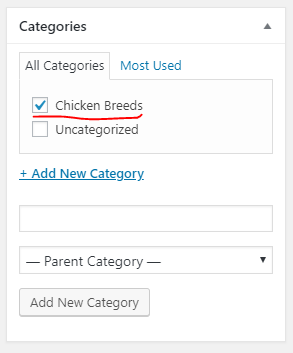
For a good experience for your readers, it is important to sort your Posts into Categories that are easy to follow. Your Categories will grow and change as your content increases. Here is how you make a new Category as you are writing a new Post.
Go to the Categories box on the right-side and click the Add New link.

Type in the name of the New Category and click the Add New Category button.

The New Category will appear and will be selected for this New Post. This New Category will also be available for selection on future Posts.
Publish the New Post
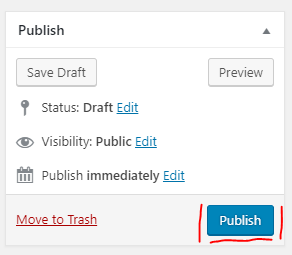
When you are happy with the appearance of your Post and the Category that has been selected, then it is now time to make it available to the whole world to read and admire! To publish the Post, simply go to the top-right corner and click the Publish button.
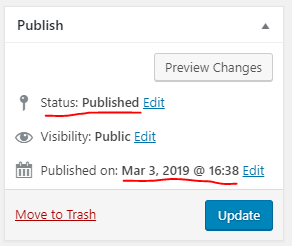
You will see that the Post has now gone from Draft status to Published status, along with a published date.
You can verify the Permalink at the top and click on it to see the New Post is now available for the world to see!
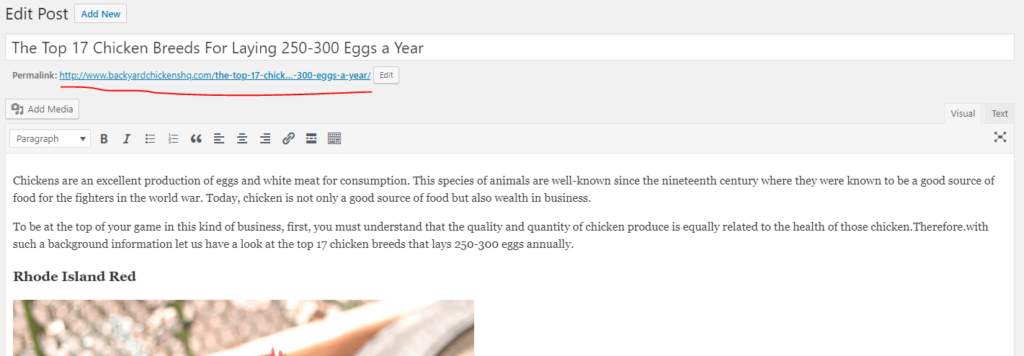
Published Post
🙂 🙂 🙂 🙂 🙂 🙂 🙂 🙂 🙂 🙂 🙂 🙂 🙂 🙂 🙂 🙂
