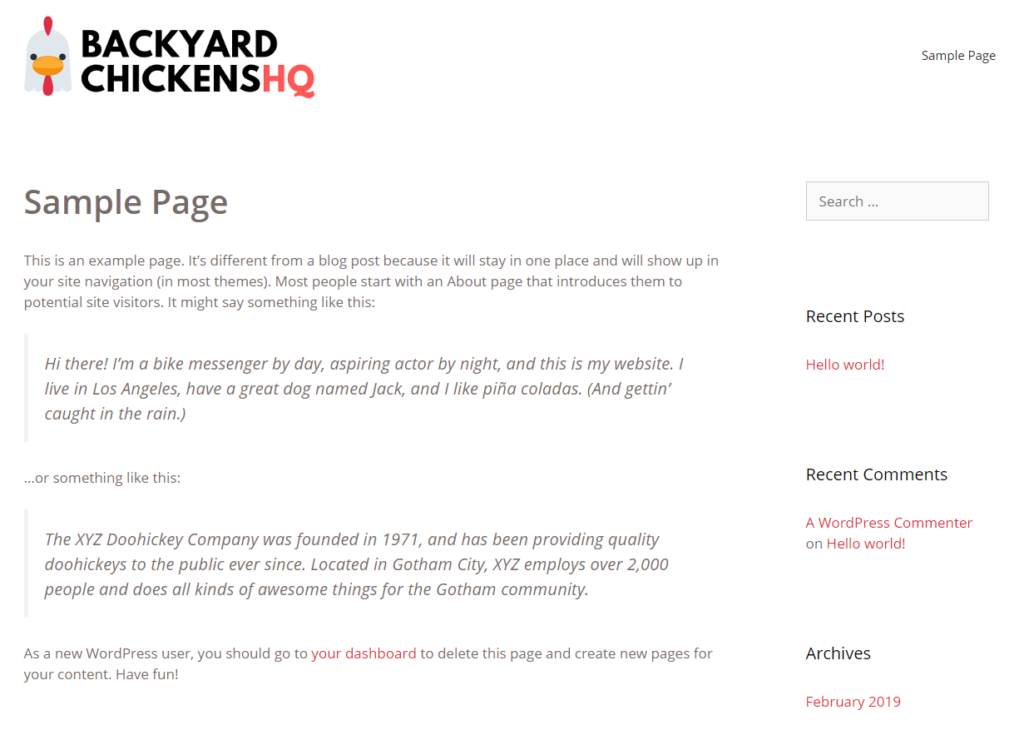
A WordPress Theme is what will give you the look/feel and the layout of your blog. Everyone has an idea in their mind of what their website should look like. Luckily for bloggers who create on the WordPress platform, there are thousands of WordPress themes to match what you have in mind.
The coolest part is that you can change how your blog looks in just a few clicks of the mouse by changing out its Theme. Many Theme come with the option to customize the colors, fonts, and page layouts to give you exactly what you want.
For my new blog, I am going with the tried-and-true Theme that has always saved the day for me. The GeneratePress Theme. I use it for all of my projects now for the following reasons.
- It looks perfect on mobile devices out of the box
- You can customize ANYTHING on the Theme without writing any code. You can say this about most themes.
- The developer offers great support as well as the WordPress community.
Add New Theme
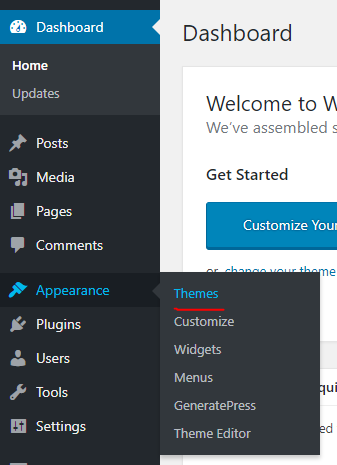
To add a new Theme to your WordPress blog, go to the Main Menu on the left and hover over Appearance and then click the Themes link.
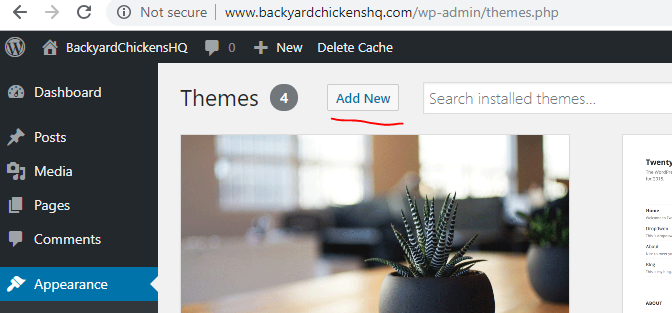
On the Themes page, click the Add New button on the top-left.
Search for GeneratePress in the Search Themes box in the top-right.

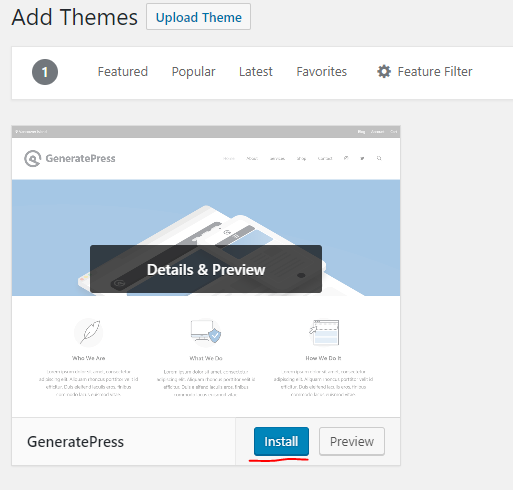
Hover over the preview tile for the GeneratePress theme and click the blue Install button.
When the installer is complete, click the blue Activate button.
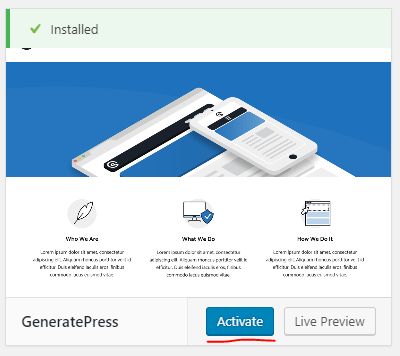
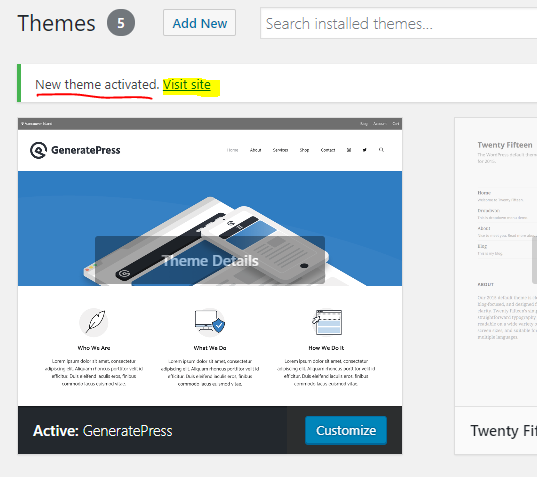
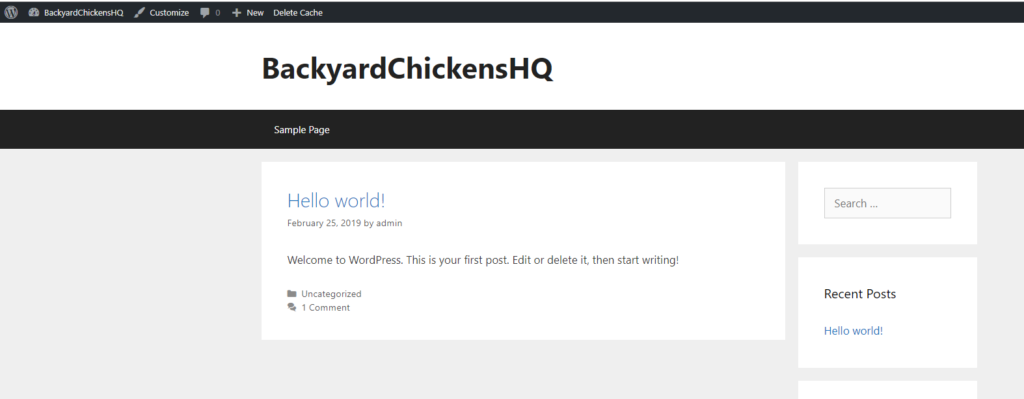
You will receive a confirmation that the GeneratePress Theme is installed and activated. There will also be a link you can click to Visit Site and preview your blog with the new Theme. This is how the public will your blog, minus the black WordPress Admin Toolbar at the top. Don’t be alarmed if it doesn’t look like much, because there is no content added yet.
Customizing GeneratePress Theme
This is where your creative juices get to flow, and you get to make the blog look like the picture you have in your mind. This is where GeneratePress stand head and shoulders above other Themes. You can begin to customize most elements of the page inside the WordPress Admin. Nearly all elements are available within the Premium edition of the Theme.
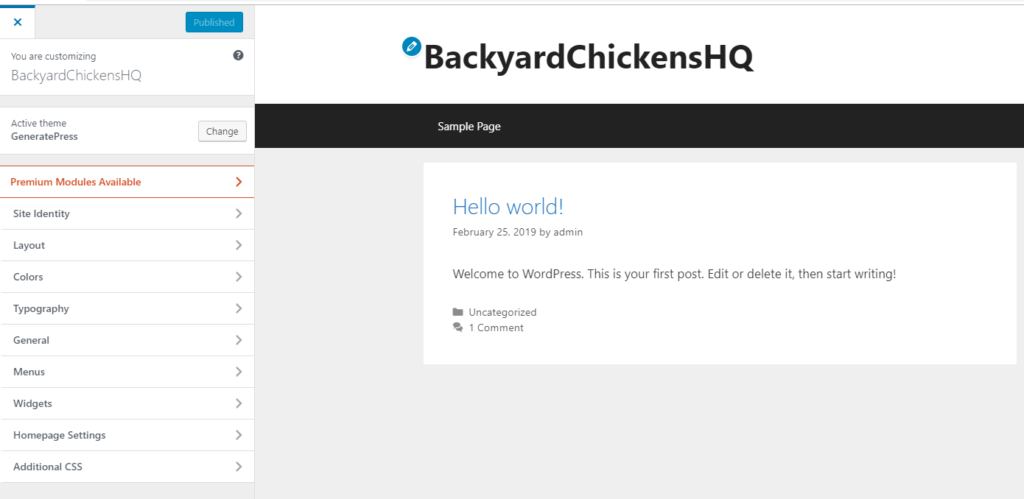
To begin customizing, click the blue Customize button and you will be take to the Appearance Wizard.
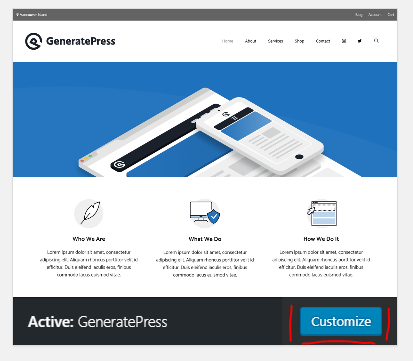
You can use the menu to the left to make your changes, and get a real-time preview in the pane on the right.
Adding Your Logo
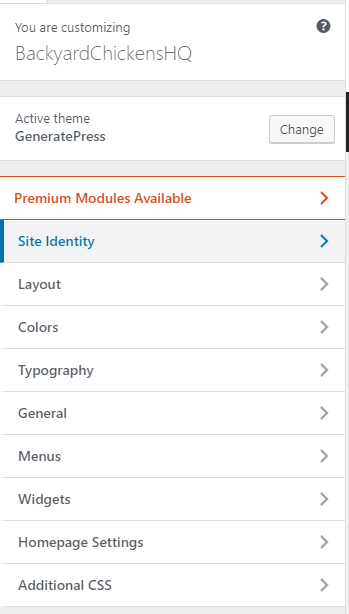
To add the custom logo, go to the Site Identity menu, the click the Site Logo button.
The recommended logo size is 350 x 70px.

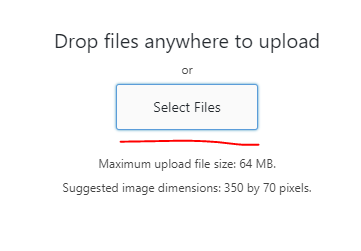
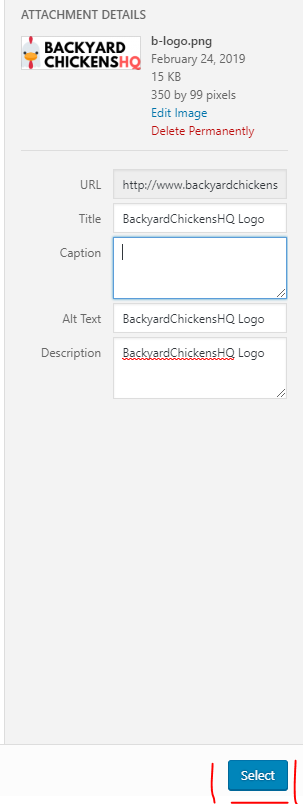
Click Select Files and locate the file containing your logo from your hard drive. Then click the blue Select button in the bottom-right corner of the Select logo box.
Click on the gray Skipping Cropping button.

Then click the Hide Site Title checkbox, and then you will see our lovely logo on the blog.
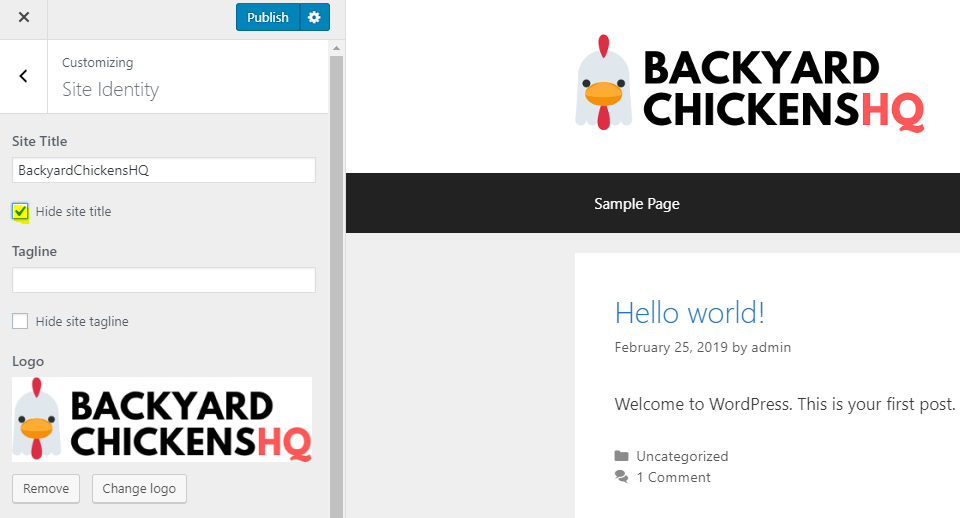
Be sure to click the blue Publish button to save your changes when you are working in this wizard. 😉
Customizing Colors and Fonts
I have found that readers respond best to a simple design with a white header, white background, and a black footer. You can use the rest of the sub-menus on the Appearance Wizard to get the effects that you like. It may take a bit to get there, but it is fun. Because it is your new blog!

Here is a quick preview of my Theme once I have gotten everything dialed in.
